Here’s an opening paragraph designed for a SEO-optimized article on “Workshop for sewing according to sample,” keeping in mind the need for a semantic approach and your specifications:
Unlocking precision and efficiency in Garment Processing starts with mastering the art of sewing according to sample, a skill crucial for businesses aiming to minimize errors and maximize profitability. This comprehensive guide delves into the practical aspects of organizing a workshop, from meticulously analyzing sample garments and selecting the right materials to optimizing sewing techniques and implementing effective quality control measures. Discover how to streamline your workflow, ensure consistent product quality, and equip your team with the expertise to excel in sample-based production by 2025.
Step-by-Step Guide to Organizing and Conducting a Successful Sewing Workshop Based on Samples
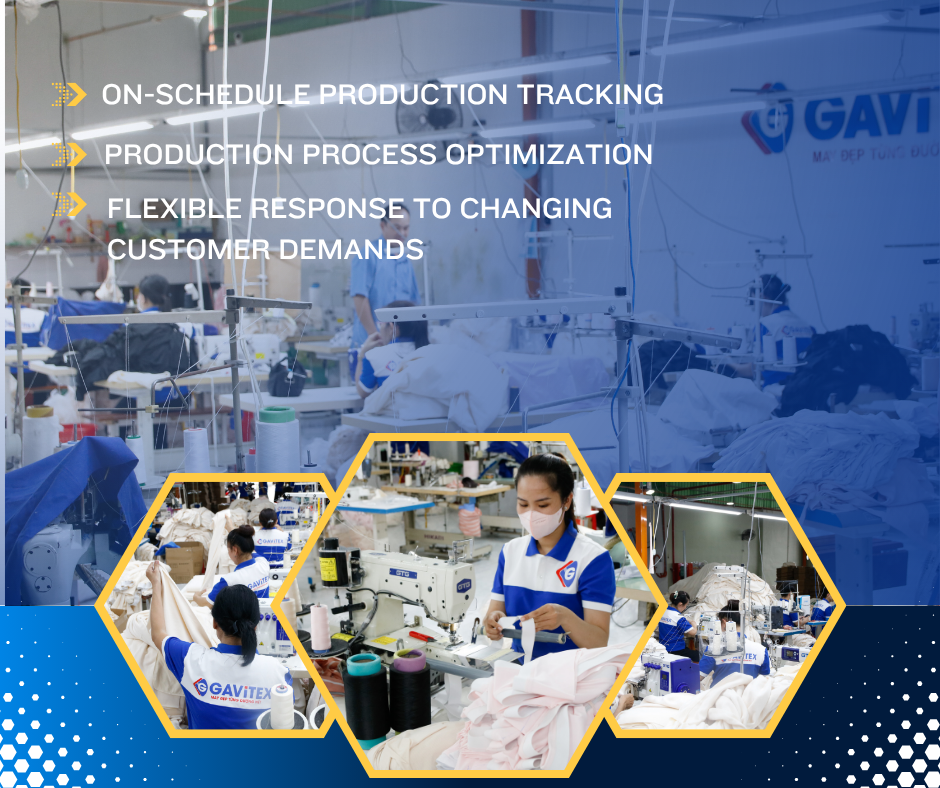
A successful sewing workshop based on samples provides a hands-on learning experience, allowing participants to deconstruct and recreate garments, thereby mastering various sewing techniques; this type of workshop is an excellent avenue for Gavitex to showcase its fabrics and expertise in practical application. By focusing on sample-based learning, workshops can offer tangible outcomes and immediate skill development.
To effectively organize and conduct such a workshop, a well-defined plan is crucial, encompassing everything from preparation to execution and follow-up. Below is a detailed, step-by-step guide that will help you create a structured and engaging learning environment:
-
Define Workshop Objectives and Target Audience: Start by clearly outlining what participants should achieve by the end of the workshop. Are they learning basic construction techniques, pattern adaptation, or advanced embellishment? Tailor the workshop content to a specific skill level, such as beginners, intermediate, or advanced sewers. Understanding your audience’s needs and expectations is paramount.
-
Select and Prepare Sample Garments: Choose samples that represent a range of sewing techniques and difficulty levels. Opt for garments that are structurally sound and easy to deconstruct. Disassemble the sample garment carefully, preserving all pieces for pattern-making and reconstruction. Create clear diagrams or instructions for each step of the process.
-
Create a Detailed Workshop Curriculum: Design a comprehensive curriculum that covers all essential aspects of sample sewing. This includes garment analysis, pattern creation, fabric selection, cutting, sewing techniques, fitting, and finishing. Allocate sufficient time for each activity, considering the skill level of the participants. Consider breaking down the curriculum into smaller, manageable modules.
-
Gather Essential Tools and Materials: Ensure you have an adequate supply of sewing machines, tools, and materials for all participants. Essential tools include seam rippers, measuring tapes, rulers, scissors, pins, needles, thread, and marking tools. Provide a variety of fabrics that are similar to those used in the sample garments. Gavitex can provide excellent fabric options for use.
-
Set Up the Workshop Space: Organize the workshop space to promote efficiency and collaboration. Provide ample workspace for each participant, with easy access to sewing machines, tools, and materials. Ensure adequate lighting and ventilation. Consider creating a demonstration area where you can showcase techniques and answer questions.
-
Conduct Pre-Workshop Preparation: Send out a detailed email to participants outlining the workshop objectives, schedule, required materials, and any pre-workshop assignments. This will help them come prepared and maximize their learning experience. Prepare all necessary handouts, instructions, and pattern templates in advance.
-
Execute the Workshop with Clear Instruction and Guidance: Begin the workshop with a brief introduction to the objectives, schedule, and safety guidelines. Provide step-by-step instructions, demonstrating each technique clearly and concisely. Offer individual assistance to participants as needed, addressing any questions or challenges they may encounter. Encourage collaboration and peer learning.
-
Provide Hands-on Practice and Feedback: Allocate ample time for participants to practice the techniques they have learned. Encourage them to deconstruct and reconstruct the sample garments, following your instructions. Provide constructive feedback on their work, highlighting areas for improvement and celebrating their successes.
-
Incorporate Garment Analysis and Pattern Adaptation: Guide participants through the process of analyzing the sample garment’s construction and fit. Teach them how to create patterns from the deconstructed pieces, adapting them to different sizes and styles. Emphasize the importance of accurate measurements and pattern adjustments.
-
Address Challenges and Offer Solutions: Be prepared to address common challenges that participants may encounter during the workshop. This includes issues with pattern making, fabric cutting, sewing machine operation, and fitting. Provide practical solutions and troubleshooting tips to help them overcome these challenges.
-
Evaluate Learning Outcomes and Gather Feedback: At the end of the workshop, assess whether participants have achieved the learning objectives. This can be done through observation, demonstrations, or a short quiz. Collect feedback from participants on the workshop content, instruction, and organization. Use this feedback to improve future workshops.
-
Provide Post-Workshop Support: Offer ongoing support to participants after the workshop has ended. This can be done through email, online forums, or follow-up workshops. Share additional resources, such as sewing tutorials, pattern-making guides, and fabric sourcing information.
By following these steps, Gavitex can create compelling and informative sewing workshops based on samples, attracting new customers and solidifying its position as a leader in the fabric and sewing industry.

Essential Tools and Equipment for a Sample Sewing Workshop
Equipping your workshop for sewing according to sample with the right tools and equipment is paramount for a successful and enriching learning experience. Providing participants with quality resources not only facilitates their understanding of garment construction techniques but also ensures a smooth and efficient workflow throughout the workshop. A well-stocked workspace fosters creativity, encourages experimentation, and ultimately contributes to the overall success of the workshop.
To effectively conduct a sample sewing workshop, several key categories of tools and equipment are essential. These can be broken down into categories like cutting tools, measuring implements, marking devices, sewing machines, pressing equipment, and a variety of hand-sewing notions. Each category plays a vital role in the process of deconstructing, analyzing, and recreating garments from samples.
Here’s a breakdown of essential items:
-
Cutting Tools: Sharp fabric scissors are non-negotiable for clean and precise cuts, while seam rippers are invaluable for dissecting sample garments. Rotary cutters and cutting mats offer an alternative for certain fabrics and pattern adjustments.
-
Measuring Implements: Accurate measuring tapes and rulers are critical for pattern drafting and alterations. Consider providing both metric and imperial options. A flexible curve ruler is helpful for shaping necklines and armholes.
-
Marking Devices: Tailor’s chalk, tracing wheels, and specialized marking pens are necessary for transferring pattern markings onto fabric. Ensure these are easy to remove and won’t damage the fabric.
-
Sewing Machines: Reliable and well-maintained sewing machines are the heart of any sewing workshop. Offer a variety of machines with different features, such as adjustable stitch lengths and widths. Sergers can also be beneficial for finishing raw edges. Gavitex, with its deep understanding of textile manufacturing, can advise on the most suitable machine types for different workshop needs.
-
Pressing Equipment: An iron and ironing board are vital for achieving professional-looking results. A pressing cloth protects delicate fabrics from scorching. A seam roll and tailor’s ham are useful for shaping curved seams.
-
Hand-Sewing Notions: A selection of hand-sewing needles, threads, pins, and thimbles will be needed for various tasks, such as basting, attaching embellishments, and finishing details.

Maximizing Learning Outcomes: Best Practices for Teaching Sewing Techniques in a Workshop Setting
Achieving maximum learning outcomes in a sewing workshop hinges on implementing best practices for teaching sewing techniques, ensuring participants not only learn but also retain and apply their new skills. Effectively teaching sewing techniques goes beyond simply demonstrating steps; it requires a multifaceted approach encompassing tailored instruction, hands-on practice, and a supportive learning environment that fosters confidence and skill development in each participant learning sewing according to sample.
To elevate the learning experience in your sample sewing workshop, it’s essential to focus on individual learning styles. A blend of visual aids (like diagrams and videos), auditory explanations, and kinesthetic activities (actual sewing practice) caters to diverse needs. For example, at Gavitex’s workshops, we integrate short video demonstrations of complex sewing techniques followed by immediate hands-on practice with readily available fabric samples. This approach allows participants to grasp concepts more effectively and solidify their understanding through practical application in sewing according to sample.
Here are some key strategies to consider in your sewing class:
- Clearly Defined Learning Objectives: Start each workshop with a clear outline of what participants will learn and achieve, providing a roadmap for the session.
- Step-by-Step Instruction: Break down complex sewing processes into manageable steps, demonstrating each step clearly and concisely.
- Hands-on Practice: Allocate ample time for participants to practice each technique under supervision, providing personalized feedback and guidance.
- Individualized Attention: Offer one-on-one support to address individual questions and challenges, ensuring everyone can keep up with the pace of the workshop.
- Positive Reinforcement: Encourage and celebrate successes, building confidence and motivation among participants.
- Use of Samples: Use sample garments to demonstrate how different sewing techniques translate into finished products.
- Assessment and Feedback: Incorporate informal assessments (e.g., quick quizzes, observation) to gauge understanding and provide constructive feedback.
- Resource Provision: Supply participants with comprehensive handouts, reference materials, and online resources for continued learning after the workshop. Gavitex supplies participants with customized guides.
- Create a Community: Foster a supportive and collaborative learning environment where participants can share experiences, learn from each other, and build a network of fellow sewing enthusiasts.
Addressing common hurdles effectively is crucial for a seamless learning journey. Anticipate potential issues like thread tension problems, fabric slippage, or misunderstanding pattern markings. Prepare solutions and demonstrations beforehand to address these challenges promptly. For instance, have pre-threaded machines available for beginners or offer alternative techniques for handling slippery fabrics. By proactively addressing these issues, you can minimize frustration and keep participants engaged in the learning process.
Incorporating regular feedback loops is vital for continuous improvement of your sewing according to sample workshop. Solicit feedback from participants at the end of each session through questionnaires or informal discussions. Use this feedback to refine your teaching methods, address any gaps in knowledge, and enhance the overall workshop experience. Furthermore, track participant progress by assessing their sewing projects and providing personalized recommendations for future learning. By continuously adapting and improving your workshop based on feedback and performance data, you can ensure that it remains relevant, engaging, and effective in maximizing learning outcomes.
Sample Garment Analysis: Deconstructing and Understanding Sewing Techniques
Sample garment analysis is a fundamental skill in crafting workshops, providing participants with invaluable insights into garment construction and sewing techniques. Through careful deconstruction and analysis, aspiring sewists can learn to identify different seam types, understand fabric behavior, and replicate complex designs. This process not only enhances their sewing skills but also empowers them to create custom patterns and adapt existing designs to their unique preferences. By systematically examining finished garments, participants gain a deeper appreciation for the artistry and precision involved in garment construction.
The process of deconstructing a sample garment involves carefully taking it apart, seam by seam, while documenting each step. This allows you to examine the order of construction, identify the specific sewing techniques used (e.g., French seams, flat-felled seams, bound seams), and understand how different fabric pieces are joined together. Look closely at areas such as the neckline, armholes, and closures to see how these critical features are constructed and reinforced. Paying attention to these details will enhance your understanding of professional sewing standards.
Analyzing the construction techniques used in a sample garment can reveal a wealth of information about pattern drafting, fabric manipulation, and finishing details. For example, examining the darts and pleats can provide insights into how the garment is shaped to fit the body. The type of interfacing used can indicate the desired level of structure and support. Analyzing the hemline reveals the finishing techniques used, such as blind hems or rolled hems. By studying these aspects, you can learn to replicate these techniques in your own projects.
Fabric analysis is another crucial aspect of sample garment assessment. Understanding the properties of the fabric used in the sample, such as its weight, drape, and fiber content, is essential for selecting appropriate fabrics for your own designs. Analyze how the fabric behaves in different areas of the garment and how it contributes to the overall silhouette. For example, a lightweight, drapey fabric might be used for a flowing skirt, while a heavier, more stable fabric might be used for a structured jacket.
Finally, sample garment analysis allows for critical observation of finishing techniques. The quality of finishing significantly impacts the durability and overall appearance of a garment. Examine how seam allowances are treated, how raw edges are finished (e.g., serging, binding), and how closures (e.g., zippers, buttons, snaps) are applied. Understanding these details allows you to replicate professional finishing standards in your own projects.

Creating and Adapting Sewing Patterns From Samples
Creating and adapting sewing patterns from existing garments is a vital skill gained from a workshop for sewing according to sample, allowing you to replicate favorite designs or customize them to your personal style. This section outlines how to reverse engineer existing garments into patterns, customize those patterns, and create new designs. By mastering these pattern making skills, participants can unlock a whole new level of creativity and precision in their sewing projects and boost the efficiency of their operations at Gavitex.
Understanding the deconstruction process is fundamental for adapting patterns. Start by carefully disassembling the sample garment, paying close attention to seam allowances and construction details. Label each piece as you go to avoid confusion later. Flatten each piece and trace its outline onto paper, noting any darts, pleats, or gathers. Consider using specialized tools like a pattern notcher to mark key points. Accurate measurement is crucial; measure each piece precisely and record all dimensions. This detailed record will serve as the foundation for creating your adapted pattern.
Next, adapting the traced pattern requires understanding basic pattern making principles. Identify areas for modification, such as adjusting the length of a sleeve or altering the neckline. Use pattern making rulers and curves to ensure smooth and accurate lines. Remember that small changes can have a significant impact on the overall fit of the garment. Create a muslin (test garment) using inexpensive fabric to check the fit and make further adjustments before cutting into your final fabric. This iterative process allows for precise customization and minimizes the risk of errors.
Finally, explore techniques for grading patterns to different sizes. Grading involves systematically increasing or decreasing the dimensions of a pattern to fit a range of body sizes. Use grading rules and charts as a guide, but always test the fit on different body types to ensure accurate sizing. Consider offering graded patterns as part of your sewing workshop to cater to a wider audience and increase the value of your offerings. You can also explore creating variations of a single pattern, such as adding different sleeve options or changing the neckline, to provide more creative possibilities for your students.

Common Challenges and Solutions in Sample Sewing Workshops
Successfully navigating a sample sewing workshop requires anticipating and addressing common obstacles. These workshops, designed to teach sewing techniques based on existing garments, can face hurdles ranging from participant skill disparities to pattern adaptation issues. By proactively identifying these challenges and implementing effective solutions, instructors can ensure a rewarding and productive learning experience for all.
One frequent challenge is the diverse skill levels of participants. Some may be complete beginners, while others possess intermediate or advanced sewing knowledge. To tackle this, instructors should implement pre-workshop assessments to gauge participant experience. Based on the results, workshops can be stratified by skill level or incorporate differentiated instruction. For example, beginners might focus on fundamental stitching and seam finishes, while more experienced individuals can tackle advanced techniques like pattern manipulation or intricate detailing. Clear, concise instructions and ample opportunities for individual guidance are also crucial for bridging the skill gap and ensuring everyone progresses at their own pace.
Another common hurdle is accurately deconstructing and analyzing sample garments. Participants may struggle with identifying construction techniques, deciphering seam allowances, or understanding the order of operations. To combat this, workshops should incorporate detailed sample garment analysis sessions led by experienced instructors. These sessions should cover how to identify different seam types (e.g., French seam, serged seam), understand grain lines, and recognize the purpose of darts and pleats. Instructors can also provide step-by-step guides and visual aids, such as magnified images or diagrams, to help participants thoroughly understand the garment’s construction. Encouraging participants to actively engage by asking questions and sharing their observations can further enhance their understanding.
Adapting and creating sewing patterns from samples can also present difficulties. Participants may find it challenging to accurately trace patterns, adjust sizes, or modify designs to suit their preferences. To overcome this, instructors should teach pattern drafting and alteration techniques in a clear and accessible manner. Workshops can utilize readily available pattern-making tools, such as tracing wheels, rulers, and grading rulers, to aid in the process. Instructors should also demonstrate how to take accurate body measurements and use them to create properly fitting patterns. Providing pre-made pattern templates for basic garment shapes can also serve as a helpful starting point for participants to adapt and customize.
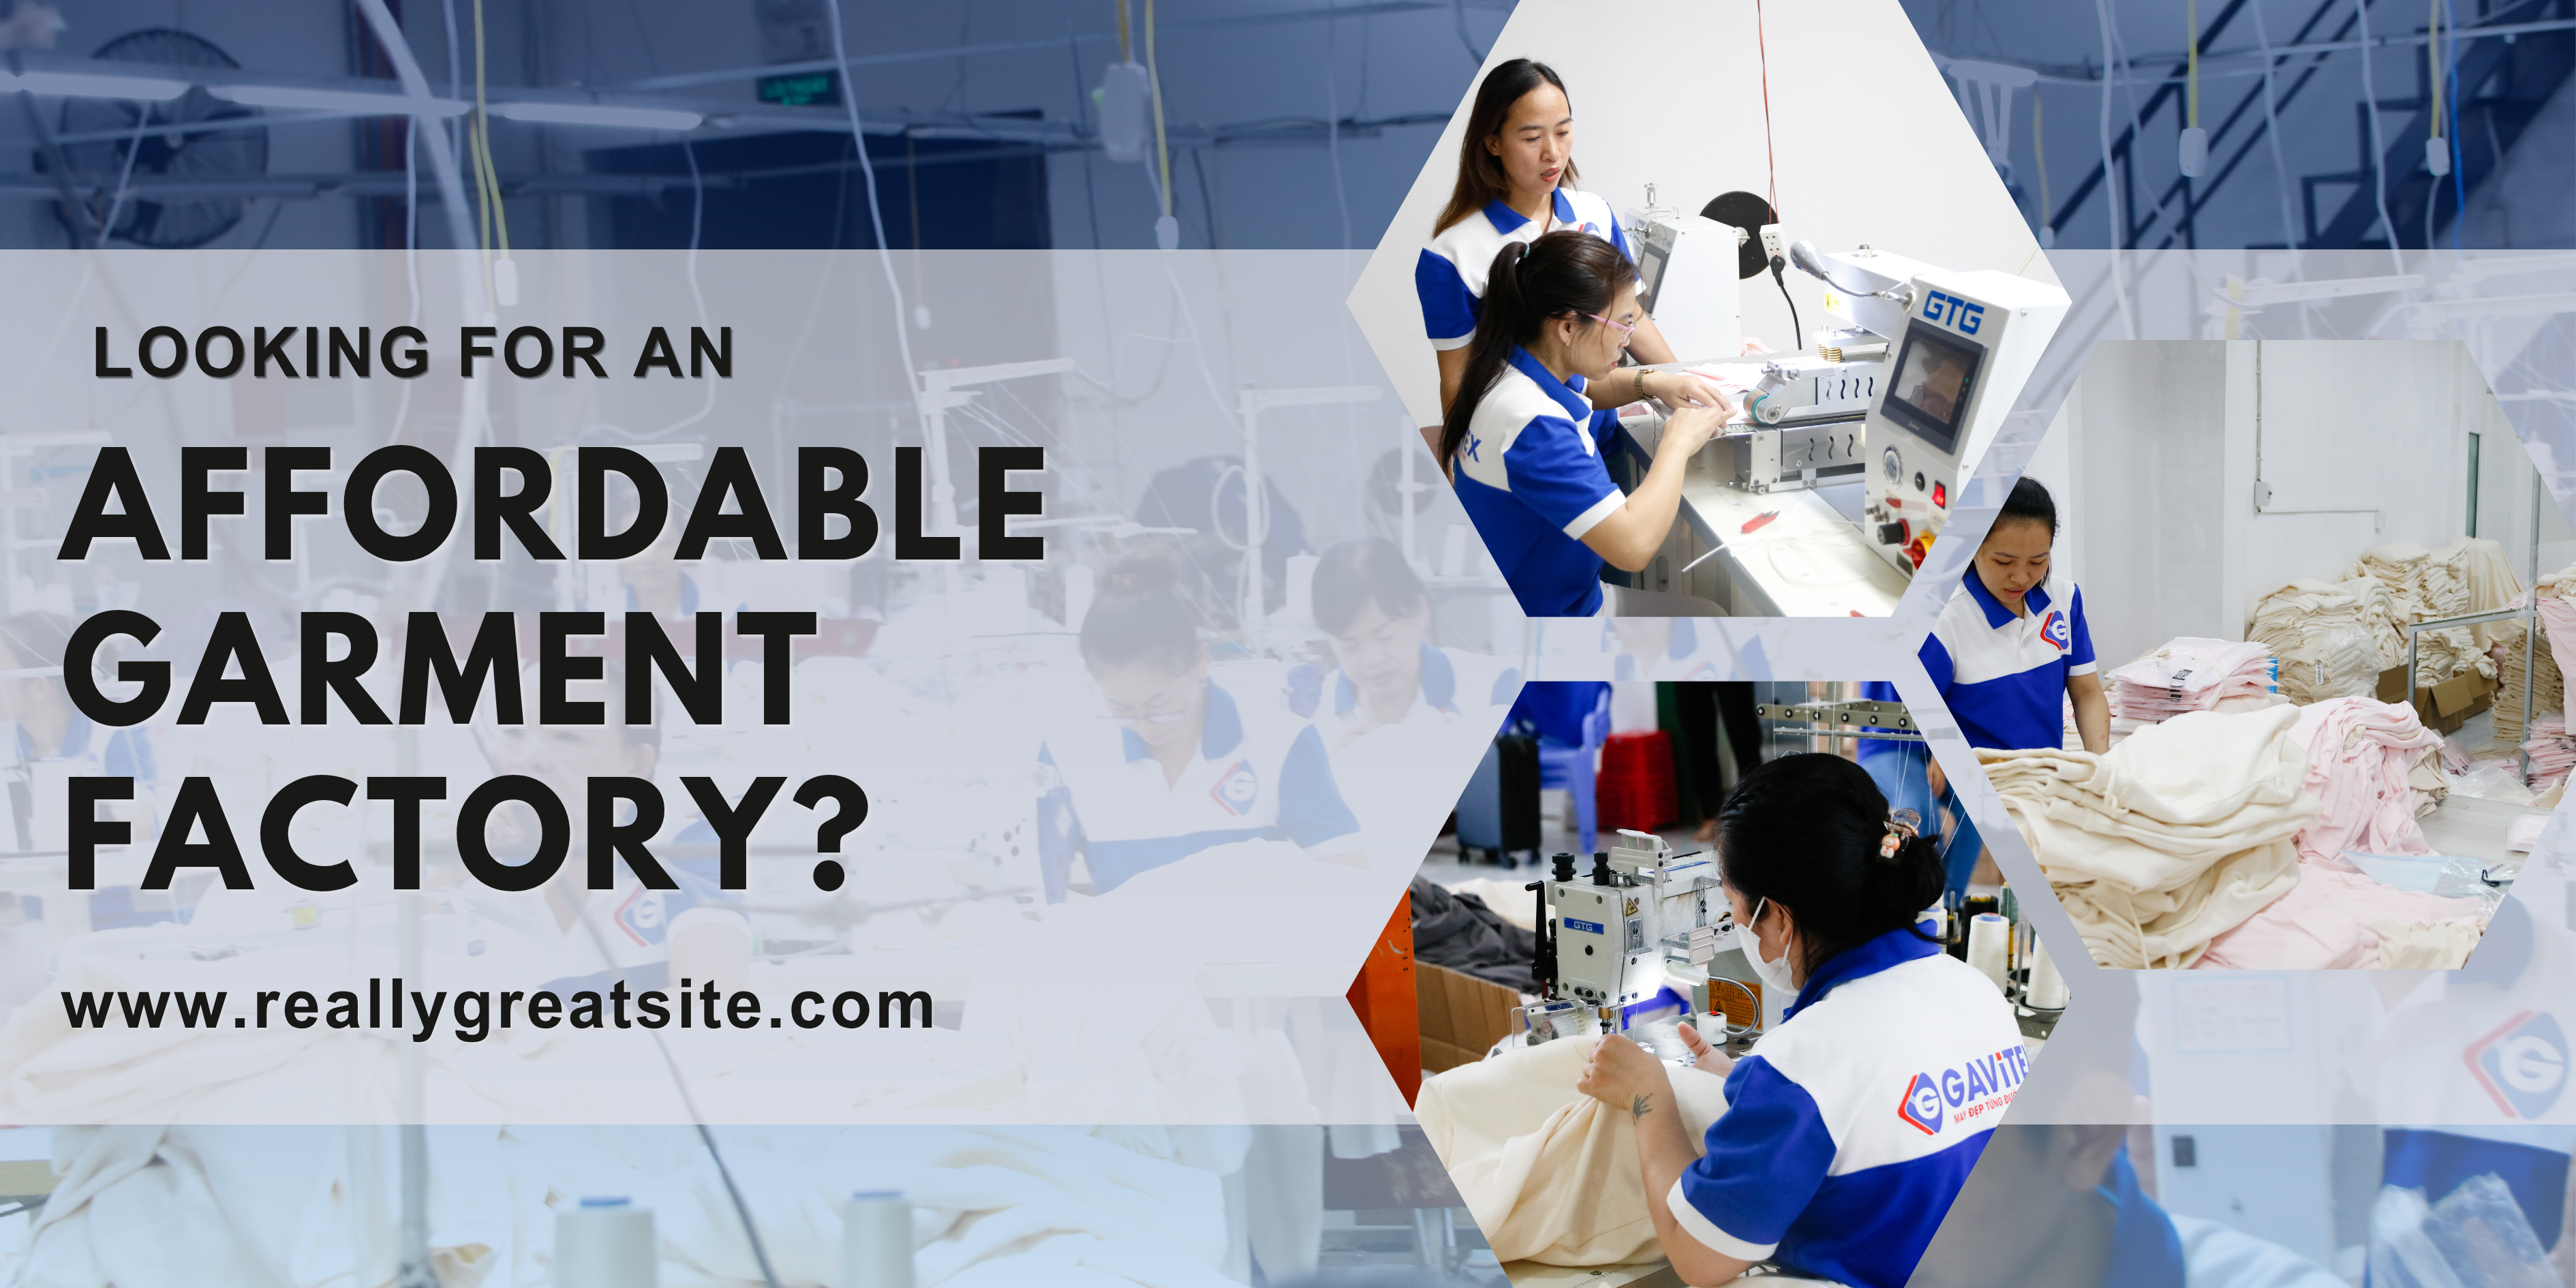
Finally, material availability and suitability can impact the success of a sample sewing workshop. If participants are required to bring their own fabrics, discrepancies in material quality, weight, and texture can lead to inconsistent results and frustration. Supplying a curated selection of fabrics suitable for the project can mitigate this issue. Gavitex, with its comprehensive range of fabrics, can be a valuable resource for workshop organizers seeking quality materials for various sewing projects, ensuring a consistent and professional outcome for all participants.

Pricing and Promoting Your Sewing Workshop
Effectively pricing and promoting your sewing workshop is crucial for attracting participants and ensuring the financial sustainability of your venture, especially when focusing on teaching workshop for sewing according to sample. The cost should reflect the value you provide, encompassing your expertise, materials, and the overall learning experience, while promotion efforts should reach your target audience through various channels, highlighting the unique benefits of learning to sew from samples. Success lies in striking a balance between perceived value and affordability, coupled with a targeted marketing strategy that resonates with potential students.
Setting the price for your sample sewing workshop requires careful consideration of several factors. This includes the cost of materials (fabrics, threads, patterns), equipment usage (sewing machines, cutting tools), studio rental (if applicable), and, most importantly, your time and expertise as an instructor. Researching the pricing of similar workshops in your area is essential to understand the competitive landscape, while also accounting for the unique value proposition you offer. For instance, a workshop focusing on advanced pattern drafting from samples might command a higher price point than a beginner-level class.
Effective promotion is vital for reaching potential students interested in learning to sew according to sample.
Here’s a breakdown of strategies:
- Online Marketing: Leverage social media platforms (Instagram, Facebook, Pinterest) to showcase your work, share student testimonials, and announce upcoming workshops. Create engaging content, such as tutorials, behind-the-scenes glimpses, and before-and-after project photos. Gavitex, with its established online presence (https://gavitex.vn), can cross-promote workshops.
- Email Marketing: Build an email list to directly communicate with interested individuals. Send out newsletters with workshop schedules, special offers, and valuable sewing tips.
- Local Partnerships: Collaborate with local fabric stores, craft shops, and community centers to promote your workshops. Offer discounts to their customers or host joint events.
- Website/Blog: Create a dedicated page on your website or blog with detailed information about your workshops, including schedules, pricing, and registration instructions. Include high-quality photos of past workshops and student projects.
- Paid Advertising: Consider running targeted ads on social media or search engines to reach a wider audience. Tailor your ad copy to appeal to specific demographics and interests.
- Word-of-Mouth Marketing: Encourage satisfied students to spread the word about your workshops. Offer referral discounts to incentivize them.
Ultimately, the key to successfully pricing and promoting your sewing workshop centered around workshop for sewing according to sample lies in understanding your target audience, demonstrating the value you provide, and consistently reaching out through multiple marketing channels.
Building a Portfolio and Expanding Your Sewing Workshop Business
Creating a compelling portfolio and strategically expanding your sewing workshop business are crucial for long-term success in the competitive crafting industry; a strong portfolio acts as a visual resume, showcasing your skills and the quality of instruction provided in your workshop for sewing according to sample, while a well-defined expansion strategy can lead to increased revenue and brand recognition. Both elements work synergistically: a robust portfolio attracts more students, while a successful expansion strategy creates more opportunities to showcase that portfolio.
A well-curated portfolio should showcase a diverse range of student projects completed in your sample sewing workshops. Highlighting projects that demonstrate mastery of different techniques, skill levels, and garment types will solidify your credibility and attract a broader audience seeking workshops for sewing according to sample. Consider including before-and-after photos, testimonials from satisfied participants, and detailed descriptions of the skills learned during each workshop.
Expanding your sewing workshop business requires a multi-faceted approach. Explore several avenues for growth:
- Offer specialized workshops: Cater to niche interests within sewing, such as garment alterations, quilting, or pattern drafting. Gavitex, with its deep understanding of textile manufacturing, can offer unique insights into fabric selection and its impact on the final product.
- Partner with local businesses: Collaborate with fabric stores, craft shops, or community centers to host workshops and reach a wider audience.
- Develop online courses: Expand your reach beyond geographical limitations by creating online tutorials and virtual workshops.
- Cultivate a strong online presence: Actively engage on social media platforms, showcase student work, and promote upcoming workshops.
Pricing your workshops competitively is essential. Research the market rate for similar sewing classes in your area and factor in your experience, materials provided, and the length of the workshop. Offering package deals or discounts for repeat customers can incentivize enrollment and build loyalty. Promote your workshops through various channels, including social media, email marketing, and local community listings.
Finally, investing in advanced techniques and specialized workshops is a pathway to sustained growth. By continually refining your skills and expanding your curriculum, you can attract experienced sewers seeking to further their knowledge. This can lead to increased revenue streams and a stronger brand reputation within the workshop for sewing according to sample community.
Advanced Techniques and Specialized Workshops
Expanding beyond basic sewing skills unlocks a world of creative possibilities, making advanced techniques and specialized workshops a vital step for sewing enthusiasts seeking mastery and specialized skills. These workshops delve into intricate methods, niche garment types, and innovative approaches to sewing, offering a significant leap from introductory sewing classes. By exploring such niche categories, individuals can hone their skills in focused areas like couture sewing, tailoring, or pattern drafting for specific garments, ultimately boosting confidence and creativity in their sewing endeavors.
Mastering Advanced Sewing Techniques.
These workshops offer in-depth exploration into intricate techniques. Consider couture sewing which emphasizes hand-sewing and meticulous attention to detail. Workshops on tailoring, specifically, would cover advanced fitting, alterations, and construction methods for jackets, pants, and suits. Also, draping is an important course of study that is learning how to create garments directly on a dress form, allowing for organic design and precise fit.
Specialized Garment Workshops.
These specialized workshops delve into specific garment types, catering to niche interests and skill development.
- Lingerie Sewing: Delve into delicate fabrics and techniques for creating bras, panties, and sleepwear.
- Activewear Sewing: Explore stretch fabrics, elastic applications, and construction methods for athletic apparel.
- Quilting and Patchwork: Master intricate quilting designs, fabric piecing techniques, and pattern development for quilts and decorative items.
Innovations in Sewing and Design.
Workshops that integrate technology, sustainable practices, and upcycling methods equip participants with skills relevant to modern trends.
- Digital Pattern Making: Learn to use CAD software for pattern drafting, grading, and customization.
- Sustainable Sewing Practices: Discover eco-friendly fabric sourcing, waste reduction strategies, and upcycling techniques. Gavitex, as a fabric supplier, can offer specialized workshops on selecting sustainable fabrics and incorporating them into sewing projects, aligning with the growing demand for environmentally conscious fashion.
- Textile Embellishment: Learn dyeing, painting, embroidery, beading, and other decorative techniques.
By offering advanced techniques and specialized workshops, brands like Gavitex can strengthen its community of sewing enthusiasts and establish itself as a hub for creative exploration and skill development in the sewing world.
The Future of Sewing Workshops
The future of sewing workshops is bright, driven by a renewed interest in sustainable fashion, personalized creation, and community building, further amplified by advancements in technology. This resurgence combines the timeless craft of sewing with modern techniques, creating a dynamic and evolving landscape for both instructors and participants focused on workshop for sewing according to sample.
Several key trends are shaping the evolution of these workshops:
-
Technological Integration: The integration of digital tools and resources is transforming sewing education. CAD software, 3D printing for customized components (buttons, embellishments), and online platforms are enhancing the learning experience. Virtual sewing workshops, accessible to a global audience, are becoming increasingly popular, offering flexibility and convenience. Consider how platforms like Skillshare or Coursera could be leveraged to expand the reach of Gavitex’s sewing workshops.
-
Focus on Sustainability and Ethical Fashion: Consumers are increasingly aware of the environmental and social impact of the fashion industry. This is driving demand for workshops that focus on upcycling, repurposing, and creating garments from sustainable materials. Workshops that teach participants how to mend, alter, and redesign existing clothing are gaining popularity, promoting a circular economy and reducing textile waste. Workshops centered around creating garments using locally sourced, organic cotton fabrics – something Gavitex could specialize in – would attract a conscious consumer base.
-
Personalization and Customization: The desire for unique, personalized clothing is fueling the growth of workshops that teach pattern drafting, garment fitting, and embellishment techniques. Participants want to create garments that reflect their individual style and body shape. Workshops focused on adapting existing patterns from samples to achieve a perfect fit and unique design are particularly appealing. This includes delving into the world of bespoke tailoring and couture techniques, further enhancing the value proposition of sample sewing workshops.
-
Community Building and Social Connection: Sewing workshops provide a space for individuals to connect with like-minded people, share their passion for sewing, and learn from each other. These workshops foster a sense of community and provide a supportive environment for learning and creativity. Social sewing events, sewing circles, and collaborative projects are becoming increasingly popular, transforming sewing workshops into vibrant social hubs. The social aspect is crucial – Gavitex can foster this through online forums, meetups, and collaborative projects amongst workshop attendees.
-
Specialized and Advanced Techniques: As the demand for sewing workshops grows, so does the demand for specialized and advanced techniques. Workshops that focus on specific skills, such as couture sewing, pattern making, tailoring, or historical garment reconstruction, are attracting experienced sewists looking to expand their knowledge and expertise. Furthermore, exploring niche areas like zero-waste design or adaptive clothing caters to specific audiences. Introducing workshops on advanced pattern drafting or sample garment analysis techniques could attract a more seasoned clientele.
-
Accessibility and Inclusivity: The future of sewing workshops embraces inclusivity, catering to diverse skill levels, ages, and backgrounds. Workshops are becoming more accessible by offering a range of formats, including online courses, in-person workshops, and hybrid models. Additionally, efforts are being made to create inclusive learning environments that accommodate individuals with disabilities and cater to different learning styles. Offering scholarships, subsidized workshops, or tailored classes for underserved communities could greatly expand your reach and create a more inclusive brand image for Gavitex.